

Configuration
Prerequisites
Before you begin, you will need:- A WorkOS Account and a new Project.
- An AuthKit instance configured within your WorkOS project.
- Your FastMCP server’s URL (can be localhost for development, e.g.,
http://localhost:8000).
Step 1: AuthKit Configuration
In your WorkOS Dashboard, enable AuthKit and configure the following settings:1
Enable Dynamic Client Registration
Go to Applications → Configuration and enable Dynamic Client Registration. This allows MCP clients register with your application automatically.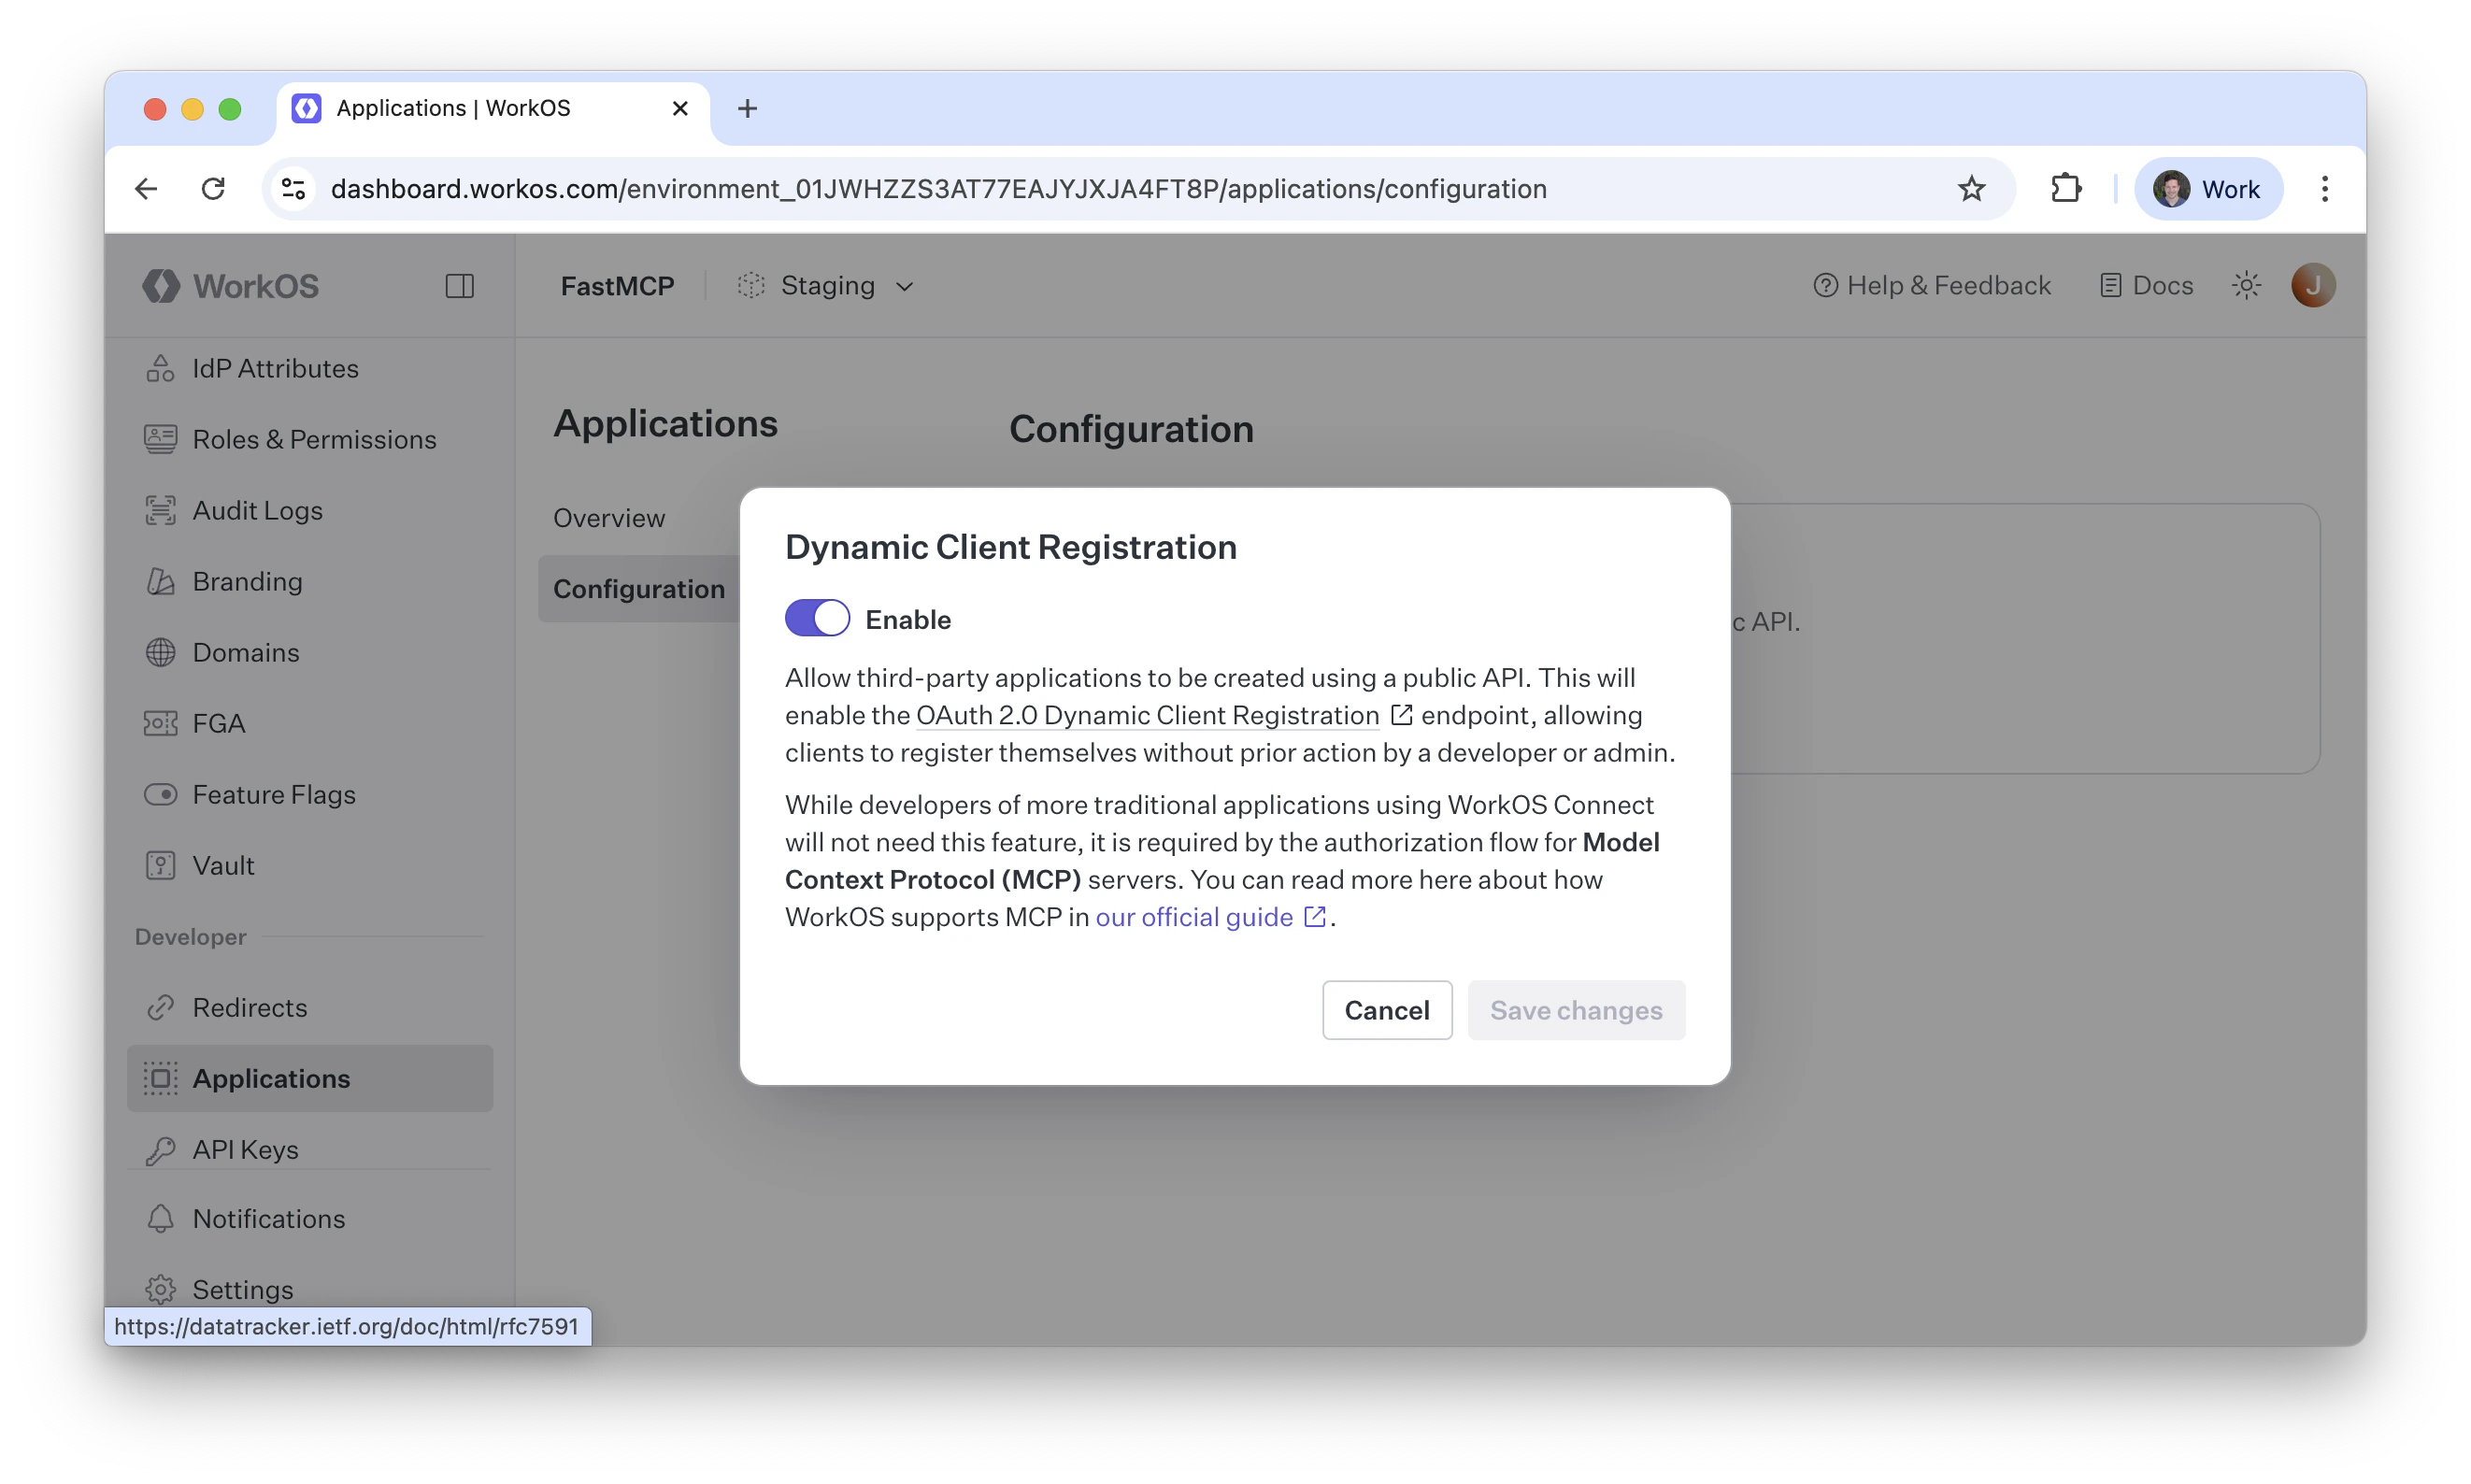
2
Note Your AuthKit Domain
Find your AuthKit Domain on the configuration page. It will look like
https://your-project-12345.authkit.app. You’ll need this for your FastMCP server configuration.Step 2: FastMCP Configuration
Create your FastMCP server file and use theAuthKitProvider to handle all the OAuth integration automatically:
server.py
Testing
To test your server, you can use thefastmcp CLI to run it locally. Assuming you’ve saved the above code to server.py (after replacing the authkit_domain and base_url with your actual values!), you can run the following command:
Environment Variables
For production deployments, use environment variables instead of hardcoding credentials.Provider Selection
Setting this environment variable allows the AuthKit provider to be used automatically without explicitly instantiating it in code.default:"Not set"
Set to
fastmcp.server.auth.providers.workos.AuthKitProvider to use AuthKit authentication.AuthKit-Specific Configuration
These environment variables provide default values for the AuthKit provider, whether it’s instantiated manually or configured viaFASTMCP_SERVER_AUTH.
required
Your AuthKit domain (e.g.,
https://your-project-12345.authkit.app)required
Public URL of your FastMCP server (e.g.,
https://your-server.com or http://localhost:8000 for development)default:"[]"
Comma-, space-, or JSON-separated list of required OAuth scopes (e.g.,
openid profile email or ["openid", "profile", "email"]).env file:
server.py